CARING FOR YOUR BOARD
Here’s some helpful tips for caring for your board – old or new.
DO clean your board with mild soap under running water. Immediately dry with a towel to remove most of the water and then allow the board to dry standing up or in a rack to allow air flow around the whole board. Drying it on one side at a time could cause warping.
DO NOT, again, I scream, DO NOT put your board in the dishwasher!
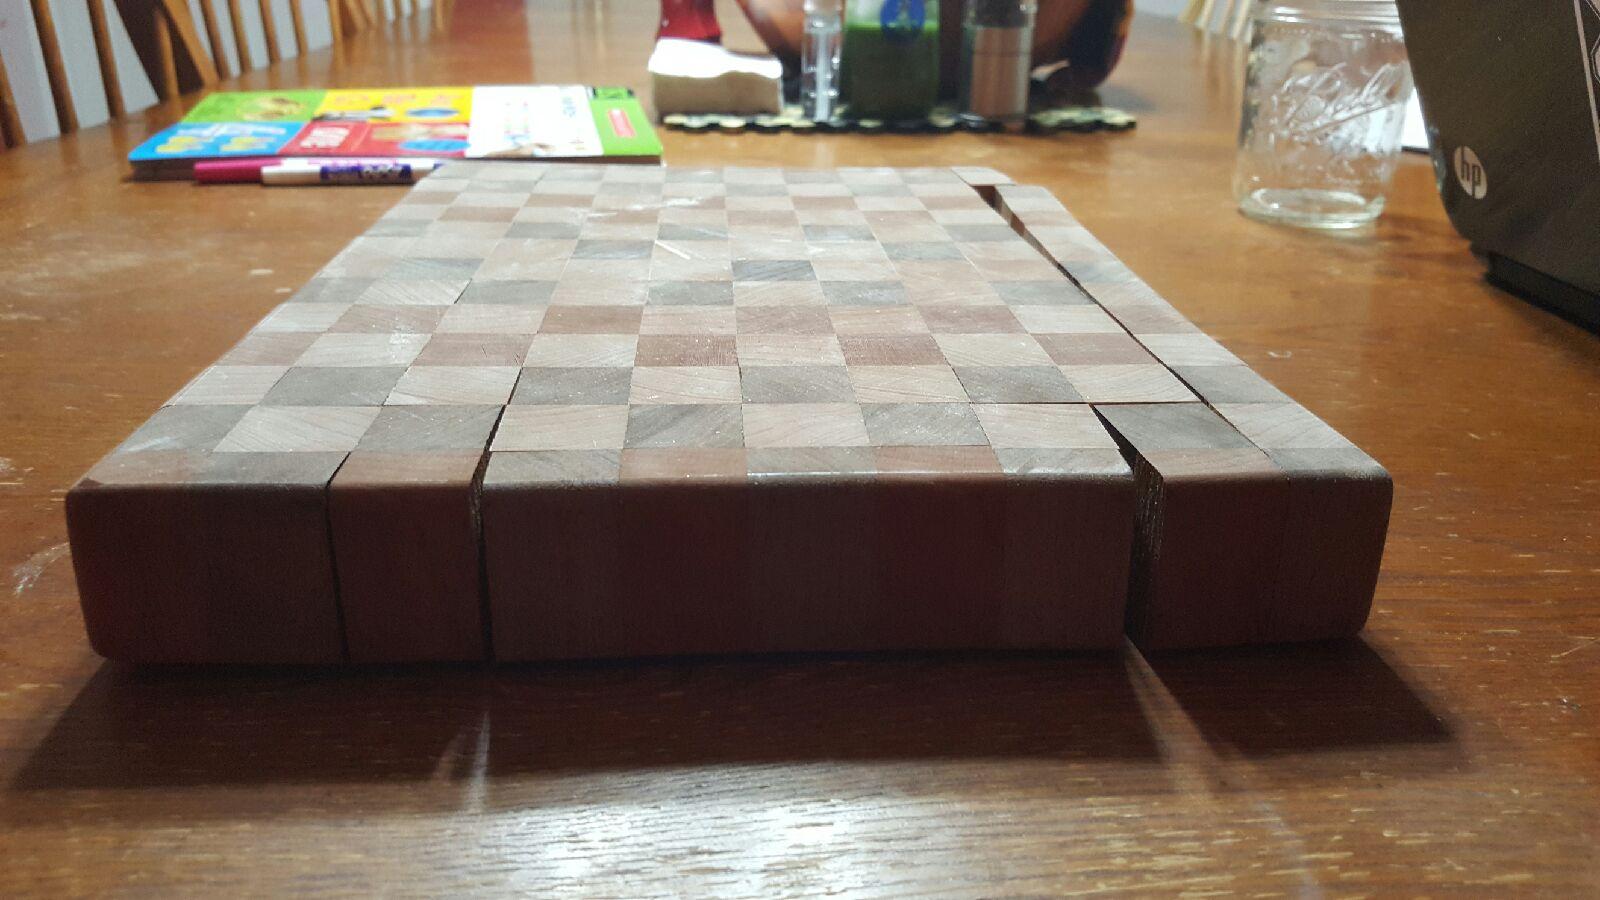
The image at the right is the very first board Andy ever made. We gifted it to our youngest son, Quenton. He and his wife, Kim, are dorm parents for high school exchange students – (8 – 10 girls) – and in their second year doing it, one of the girls decided to toss the board into the dishwasher despite knowing she should not . . . yeee-aahh . . .
He let her live, but, as one may imagine, he wasn’t happy. There’s no fixing this sort of damage.
DON’T submerge the board in water or allow it to stand in water. For the same and obvious reasons as above.
DON’T use bleach on your board. It will dry out the board and can cause staining. Plus, it won’t be good for your food . . . Wood is naturally antibacterial, unlike plastic boards. It will heal itself.
DO feed your board regularly. Mineral oil is fine. But a good board balm will take it to the next level.
Board balm is a blend of food safe oils and waxes that will help protect your board from moisture and bacteria. It’ll give your board a nice shine as well. We carry our own blend you can try. We call it simply Board Wax.
Clean your board as directed above. Apply a generous amount of balm to the board with a soft cloth. Work onto the entire surface of the board. Let sit for 10-15 minutes. Buff with another soft cloth.
Fixing Scratches
Yes, yes, yes, if you cut on your cutting board, you will indeed get scratches. Your board, after all, is meant to protect your table and your counter tops. It’s not really an art object. Okay, maybe it looks like one, but still . . . Go ahead and use it for the purpose it’s intended for. Your board can certainly be restored to a like new condition at any point you decide it needs it.
DYI – First, sand the surface of the board with an orbital sander. Start with a low grit (80-100) until the scratches disappear.
Graduate to a higher grit sandpaper till you get to at least 220. Going even higher will result in an even smoother finish. Make sure your strokes are even. It’s easy to sand a bit deeper in spots than you intended if you’re not careful.
You could hand sand it, but you’ll be spending even more time at it to get the results you’re hoping to achieve. Actually, sanding is the job that takes the most time to do in woodworking. Long hours for some projects! Tiring, monotous job, but it’s what makes a board stand out from the rest.
Once you’ve gotten it smooth, wipe off the sawdust from the surface and generously apply mineral oil.
Allow the oil to soak into the wood for at least 10 – 15 minutes. We will soak a new board overnight. Buff with a soft cloth and apply Board Wax. Buff again and admire the shine!
But if you’re not into sanding, or you’re afraid you’ll somehow ruin the board, and you live nearby, we’ll be happy to do the job for you! Just stop into REclaimED makerspace at 169 Main Street, Poultney. We’re there most weekdays from 1 – 5.
You can also ship us your board.
Price depends on the size of the board and on how much sanding it will need to bring it back to like new condition.
